
Review · TICKETS
Bali: Upside Down World Admission Ticket
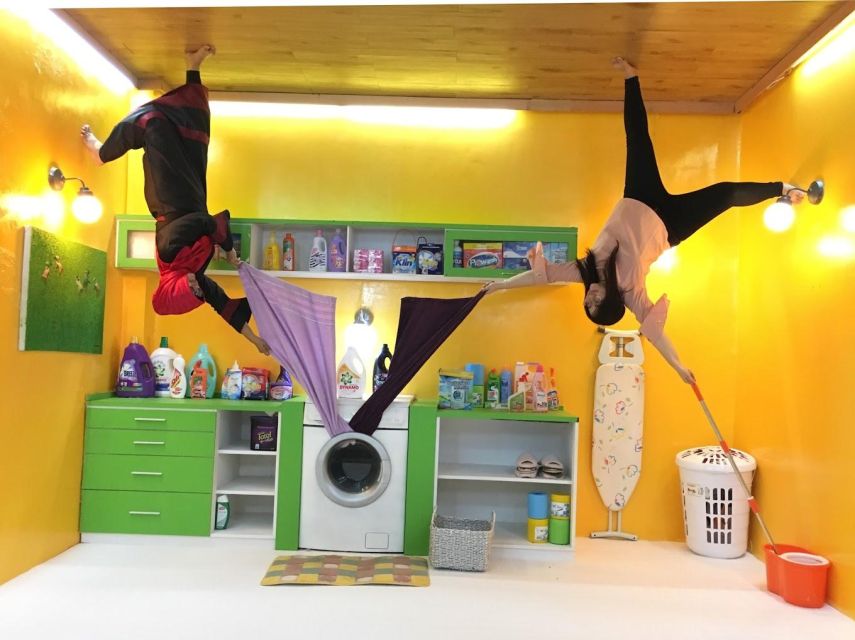
Your brain flips before your body does. Bali Upside Down World is a playful, gravity-bending photo stop built around upside-down rooms and optical illusions that mess with your sense of up and down. You’ll move through six themed rooms designed for fun posing, not quiet sightseeing.
I especially like two things here. First, the price is friendly, around $6 per person, so you can fit it into a busy Bali day without guilt. Second, the staff are ready to help you get the shot, which matters a lot when your best plan is basically to hold still and pretend you’re falling upward.
One caution before you go: the experience can feel uneven depending on what condition you walk into. Some comments mention cleanliness issues and older or smaller setups, so come with flexible expectations, and set the bar as a quick, silly, photo-focused activity rather than a polished museum.
Key highlights you’ll care about
- Six upside-down rooms in a 3-hour window, so it works well as a short break from beaches
- Staff photo assistance, meaning you are not stuck figuring out angles alone
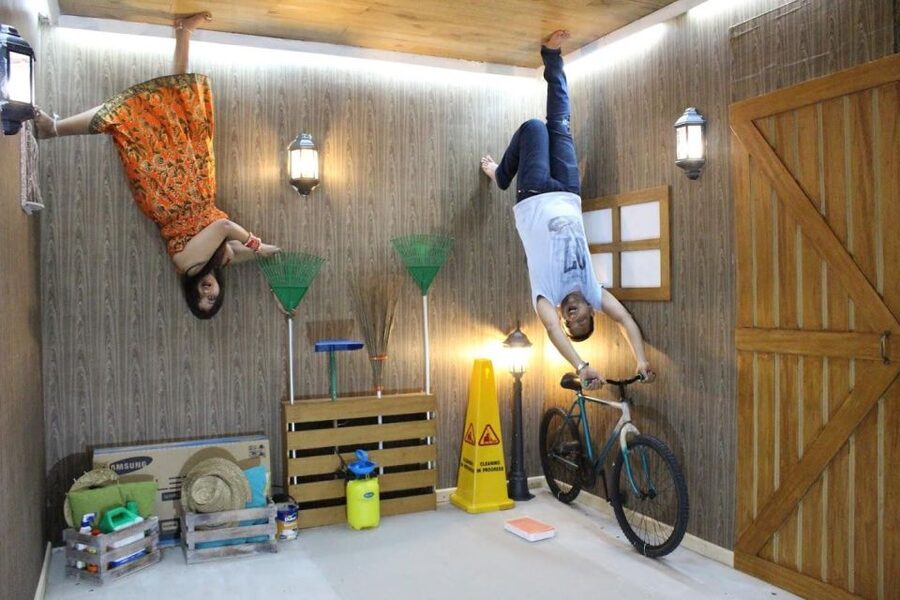
- Interactive posing areas, including ceiling-style beds and inverted “living” scenes
- Upside Down Cafe at the end, a place to slow down and refuel
- Good value for the time, especially if you want pictures more than a long walk-through
- Condition is a mixed bag, so aim for lighthearted expectations
Worth putting beside this one before you pay:
- Bali: Upside Down World Admission Ticket
★ 3.6 · 23 reviews
Bali Upside Down World at a Glance: what you’re really paying for
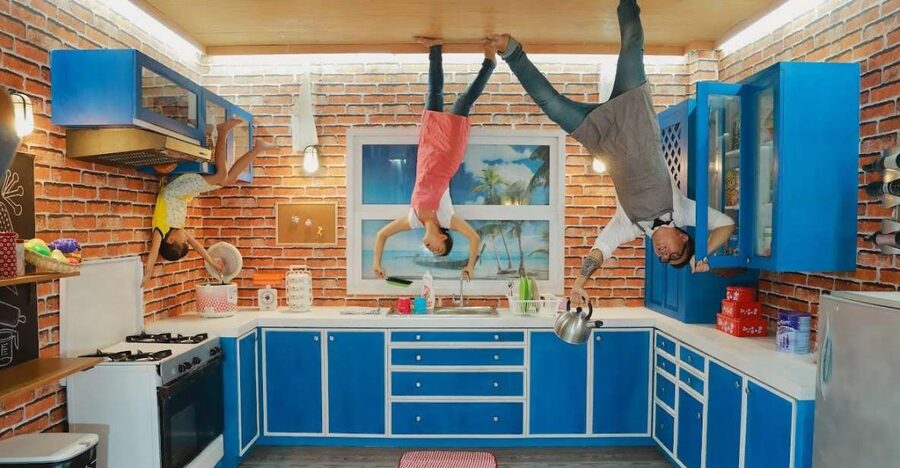
For about $6 per person, you’re buying access to a photo-first attraction. It’s not a guided cultural experience with deep context, and you won’t spend hours reading plaques. Instead, you spend your time moving room to room, taking photos where gravity feels optional.
The ticket is timed loosely as a 3-hour visit, which is a sweet spot. You can enjoy it at a relaxed pace, try multiple poses, and still have time later for something more “Bali” like a temple stop, a sunset walk, or a proper meal.
What’s included is simple: entry ticket and an English audio guide. There’s also mention of skipping the ticket line, which helps when you want to start posing quickly. If your goal is photos that look like you’re doing impossible things, this setup fits.
The big reason I think this is good value is that the core experience is basically one thing done well: give you rooms where the illusion does the heavy lifting. Your job is to show up, follow the staff’s guidance, and take advantage of the photo angles.
Getting there and checking in, no hotel pickup involved
There’s no hotel pickup and drop-off included. That means you’re responsible for getting to the venue on your own, usually by taxi or ride-hailing service depending on where you’re staying.
When you arrive, check in at the counter. Tell them your booking name, and they’ll sort you out from there. It’s straightforward, but it’s worth going in with your booking name ready on your phone so you do not waste time during peak hours.
If you’re traveling with limited time, this part matters. The simpler the check-in, the faster you get to the rooms, and at a place like this the early photos often feel the most fun because you have the place more to yourself.
The six upside-down rooms: where the illusions work best
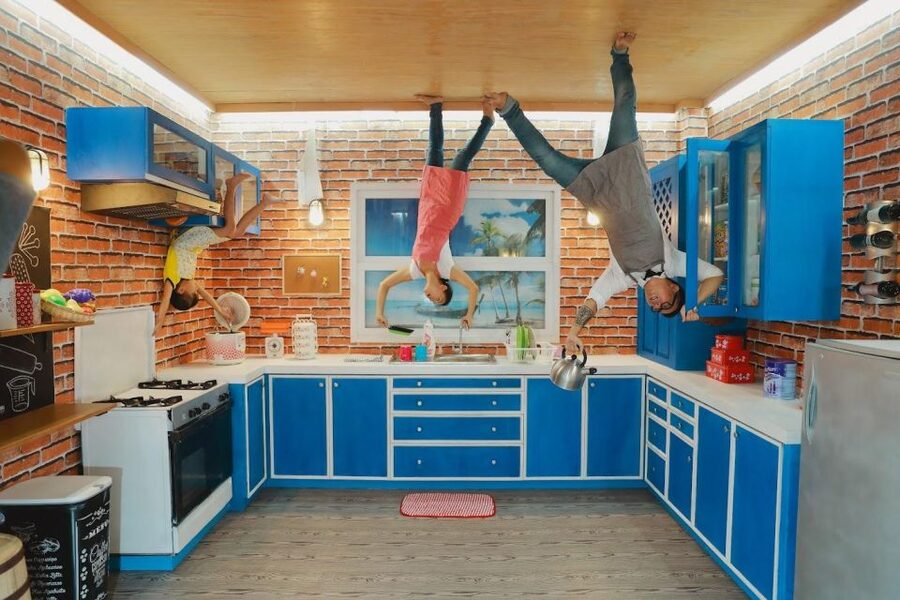
The attraction is built around moving through six themed upside-down rooms. The concept is consistent: walls and furniture are arranged so the room looks flipped, and your pose tricks the camera into believing gravity has changed rules.
In practice, you’ll get the best results by treating each room like a mini photo set. Enter, take a quick look around, and then commit to a few poses before you wander. If you keep changing locations inside the room, your best shots can get lost in the shuffle.
You can expect themed spaces like anti-gravity-style bedrooms and inverted living areas. The wording varies, but the core effect is the same. Beds and furniture are placed in ways that make ceiling or overhead seating look real in a photo. You’ll likely see props designed for that moment where your brain says, wait, that should be impossible.
Here’s the trick: the illusion works because your body is part of the scene. That’s why staff photo help is so valuable. When someone guides your angle and tells you where to stand, you stop wasting time trying to reinvent the physics.
Also, give yourself permission to repeat the same pose. A lot of people want one perfect photo. You’ll get more value if you take a few variations, especially in rooms with lots of visual lines like furniture edges and floor tiles. Small changes in framing can make the illusion pop or fail.
Audio guide in English: useful, but don’t overthink it
An English audio guide is included. For a place like this, you shouldn’t expect it to turn the visit into a documentary. Think of it as light context for what you’re seeing and how to interact with the setups.
If you like stories while you travel, it can add a bit of structure. If you’re the type who prefers action over narration, you can use it as background and focus on photos.
Either way, the audio guide is there to keep you moving with minimal confusion. Since the entire attraction is designed around rooms and photo opportunities, you do not need a lot of instructions to enjoy it.
Staff photo assistance: how to get better pictures fast
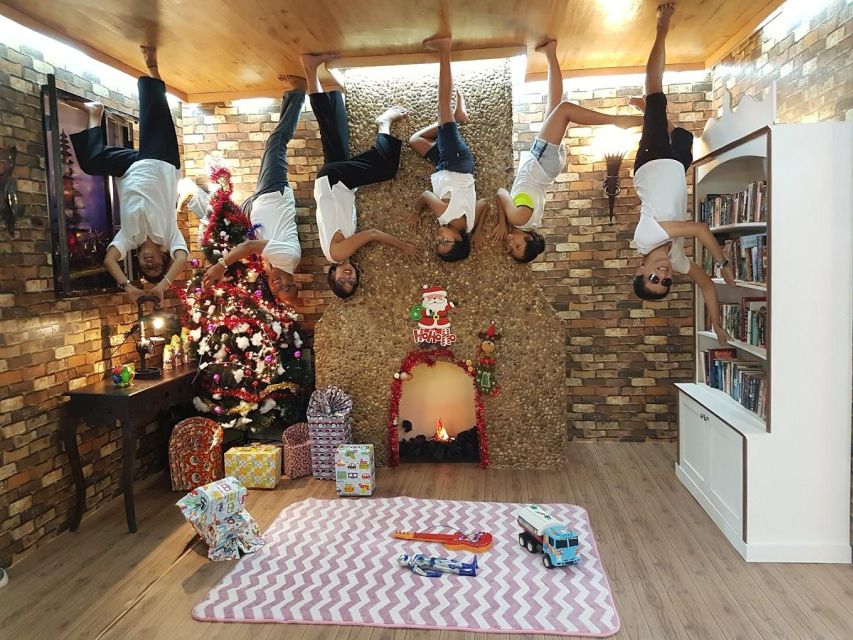
Staff help is one of the most praised parts of the experience. They’re on hand to assist you with posing and capturing photos. That matters more than it sounds.
When you’re alone, you can set up a phone and hope the framing works. At Upside Down World, the illusion depends on your exact placement relative to the room’s props. A small shift can make the scene look fake, even if you feel like you’re doing everything right.
If someone helps you, take the guidance seriously, then do your own quick experiments after. Try a staff-recommended spot first, then change one thing at a time: your distance from the prop, your hand position, or where your feet are in the frame. You’ll usually end up with one or two “this actually looks real” photos.
Bring your own camera because camera is not included. That’s also why I suggest arriving ready. If your camera settings are buried in menus, you’ll lose momentum once you’re in the rooms.
One more practical tip: wear shoes or clothing that lets you move comfortably. These rooms are built for posing, and you’ll likely do some awkward stances. If you’re dressed for a formal dinner, it can feel clumsy.
Upside Down Cafe: the cooldown between photo sets
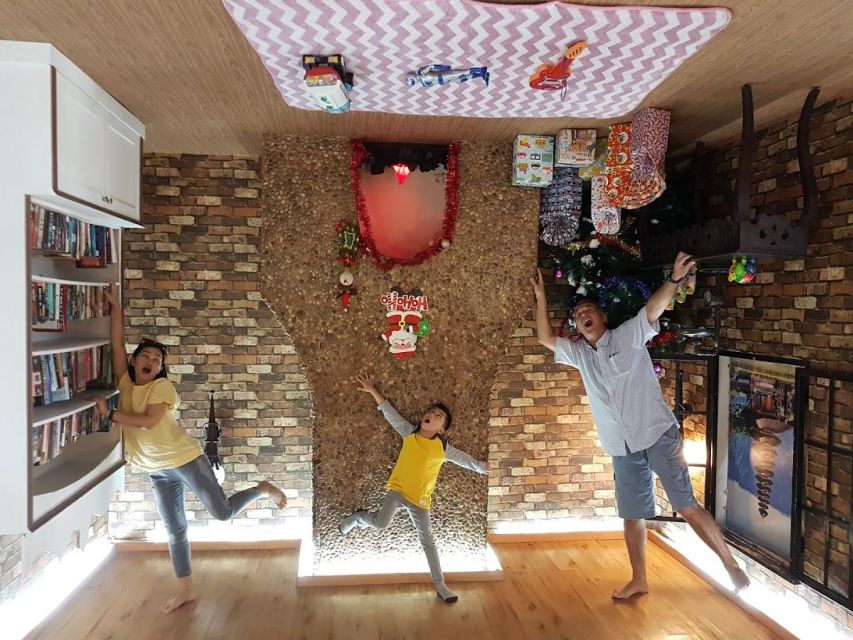
After the room hopping, you’ll finish at the Upside Down Cafe. This is a real-world breather. You step out of the action mode, sit down, and let your brain reset from the constant up-and-down illusions.
Food and drinks are not included, but the cafe is there with beverages and snacks. That means you can decide if you want a quick refresh or a more relaxed pause before you head back out into Bali.
Why I like adding this stop: it prevents the whole visit from feeling like a photo factory. You get an end point, so the 3-hour window feels complete. It also gives you time to look back at your photos, delete the blurry ones, and plan your final shots if you still have energy.
Price and logistics: value for a short Bali break

At about $6 per person, the math is pretty simple. If you want a few fun, shareable photos and you have limited time, this is one of the cheaper “experience” style stops you can add to a day.
It’s also a good buffer activity. Bali days can swing from perfect sunshine to sudden rain. Because this is indoor-ish, gravity-defying silliness can still work when outdoor plans get messy. (It’s not guaranteed, but it’s generally an easier sell on a spare afternoon.)
The main logistics cost is getting there and back, since there’s no hotel pickup. So your real total spend depends on transportation. If you’re already nearby, it becomes a no-brainer. If it’s far from where you’re staying, the price advantage can shrink, and you might want to pair it with another nearby stop.
I’d also think about what you’re optimizing for. If you’re after calm, quiet, and long pacing, this might not be your best use of time. If you want fun and photos, it’s one of the more efficient ways to fill a few hours.
What the mixed feedback teaches you before you book
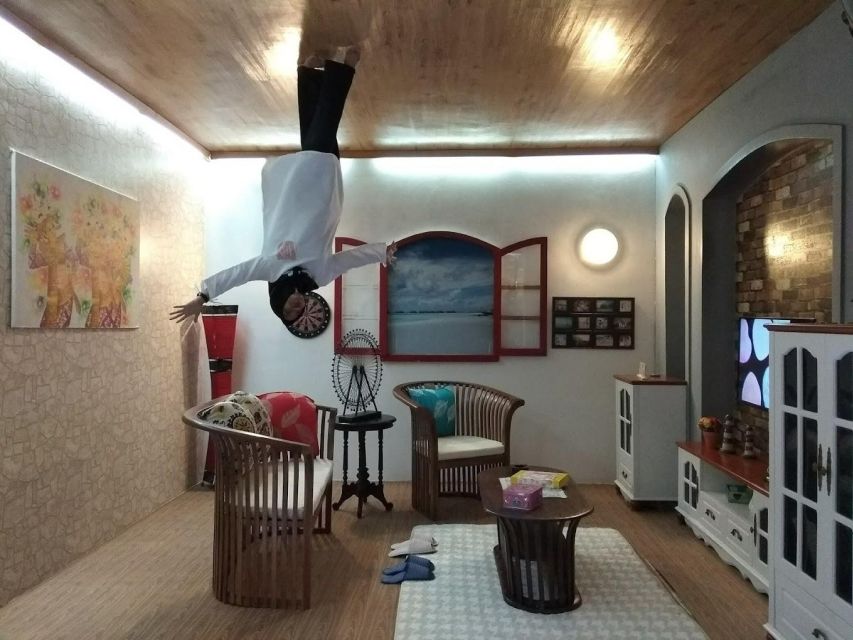
Here’s the most honest way to read the signals from past visitors. Many people loved the experience for being fun, and they praised the staff for making photos easier. Those are big wins because they protect you from the two biggest problems at attractions like this: confusion and awkward picture results.
At the same time, some visitors flagged cleanliness and said some rooms felt old or not as well maintained. Others said the attraction felt small or out of the way.
So what should you do with that? Don’t cancel over it. Just adjust your expectations.
Treat it as a playful photo attraction where you control your own experience. If you walk in expecting museum-quality presentation, you may feel let down. If you walk in expecting goofy photos and staff help, you’re more likely to have a good time.
Also, if cleanliness is a top priority for you, I’d recommend going at a time when the place is freshly turned over. Early sessions often feel better than late ones, because everything looks and smells less like it has been through a full day.
Who should go, and who should skip it
This works best for people who enjoy photography and laughing at their own poses. It’s also a solid choice for families because it’s visual and active, and the staff help makes it easier for kids and adults to get the shots without frustration.
It’s also good for groups. When someone can take photos, the room scenes can become more playful and you’ll have more chances to try variations.
If you’re the type who prefers deep cultural context, long historical pacing, or quiet galleries, you might find this too light. Even at its best, it’s a quick, structured set of rooms designed for pictures.
If you’re short on time and want one easy activity that takes about 3 hours, it fits well. If you have a whole day and are not interested in photos, you’ll likely get more satisfaction from another kind of Bali outing.
Should you book Bali Upside Down World?
Book it if you want a low-cost, photo-driven activity in Bali that you can finish in about 3 hours, and you like the idea of being guided into better poses. The staff help and the upside-down room concept are the core reasons it’s worth your time.
Skip it or rethink the plan if cleanliness and modern presentation are non-negotiable for you, or if you mainly want an educational attraction. Based on the feedback, the experience can feel older or smaller than some people expect.
My practical takeaway: treat this as a fun break, not a centerpiece. If you go in with that mindset, you’ll leave with pictures that make people do a double-take and a story that starts with, somehow, my feet were on the ceiling.
FAQ
How long does the Bali Upside Down World admission last?
The duration is listed as 3 hours.
What is included with the admission ticket?
The ticket includes entry. An English audio guide is also included, and you can skip the ticket line.
What should I bring to Bali Upside Down World?
Bring a camera. The camera is not included.
Are food and drinks included?
No. Food and drinks are not included.
Is hotel pickup and drop-off included?
No. Hotel pickup and drop-off are not included.
Where do I check in when I arrive?
Go to the counter and say your booking name.
Is there free cancellation?
Yes, free cancellation is available up to 24 hours in advance for a full refund.
More Tickets in Denpasar
- Nusa Dua: Museum Pasifika Admission Ticket with Audio Guide★ 4.3 · 4 reviews
More Tour Reviews in Denpasar
- Nusa Dua: Museum Pasifika Admission Ticket with Audio Guide★ 4.3 · 4 reviews
Just written up around Denpasar
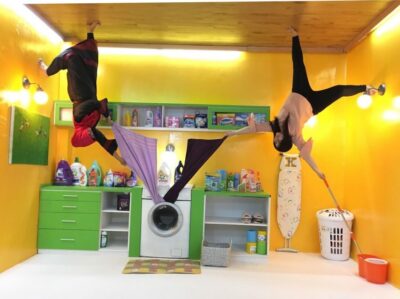
Tickets, compared.
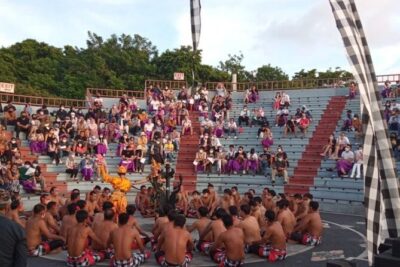 ★ 4.5All Inclusive Kecak Dance and Uluwatu Temple Admission TicketFrom $38127 reviews
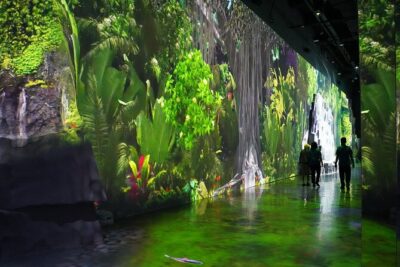 ★ 4.5Trans Studio Bali Admission TicketFrom $38114 reviews
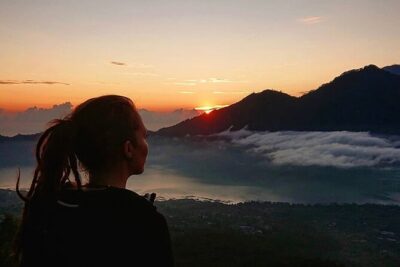 ★ 5.0Mt. Batur : All-Inclusive Sunrise Trekking & Swing TicketFrom $2325 reviews
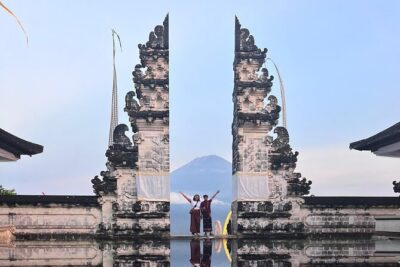 ★ 4.5Lempuyang Temple Entrance Ticket All InclusiveFrom $4925 reviews
 ★ 4.5Green Bali Rafting Ticket And TransferFrom $2322 reviews
 ★ 5.0Beji Guwang Hidden Canyon Ticket Admission All InclusiveFrom $4215 reviews
 ★ 3.5Barong Dance Show Bali Admission TicketFrom $1713 reviews
 ★ 5.0Bali Gili Island Fast Boat Ticket All InclusiveFrom $556 reviews